If your Xbox One screen suddenly goes black or displays a “No Signal” message, the issue might not be your TV or cable. Often, the real problem lies within the console itself—specifically, a damaged HDMI port. When that happens, an xbox one hdmi port replacement becomes necessary to restore video output. This repair can save you from buying a new console.
Many users face HDMI port failures due to repeated plugging and unplugging, accidental drops, or excessive force when connecting cables. The port can loosen, break internally, or detach from the motherboard. While it seems like a serious issue, skilled DIYers or professionals can fix it with the right tools and guidance. Understanding how to approach an xbox one hdmi port replacement helps you decide whether to repair it yourself or send it in for service. With patience and careful steps, you can bring your gaming system back to life.
In This Article
 Identifying HDMI Port Issues
Recognizing the Signs of Damage
Before starting an xbox one hdmi port replacement, confirm the port is truly the issue. First, try a different HDMI cable. Faulty cables often mimic port problems.
Next, plug the cable into another device. If it works elsewhere, the Xbox is likely at fault. Test the console on a second TV if possible. This rules out display issues.
If the TV shows “No Input” or “Check Connection,” the signal isn’t reaching it. Audio systems may detect the console, but video stays absent. This often means the HDMI port fails to transmit.
Inspect the port physically. Shine a flashlight inside. Look for bent pins, debris, or a loose connection. A wobbly port suggests damage.
Use a toothpick or compressed air to clean gently. Do not insert metal objects. These can cause shorts.
If the screen flickers or cuts out during gameplay, the port may have a loose solder joint. This requires internal repair.
Some users hear a click when plugging in the cable. That sound can mean internal breakage.
If none of these steps restore function, the port likely needs replacement.
Then, it’s time to prepare for xbox one hdmi port replacement.
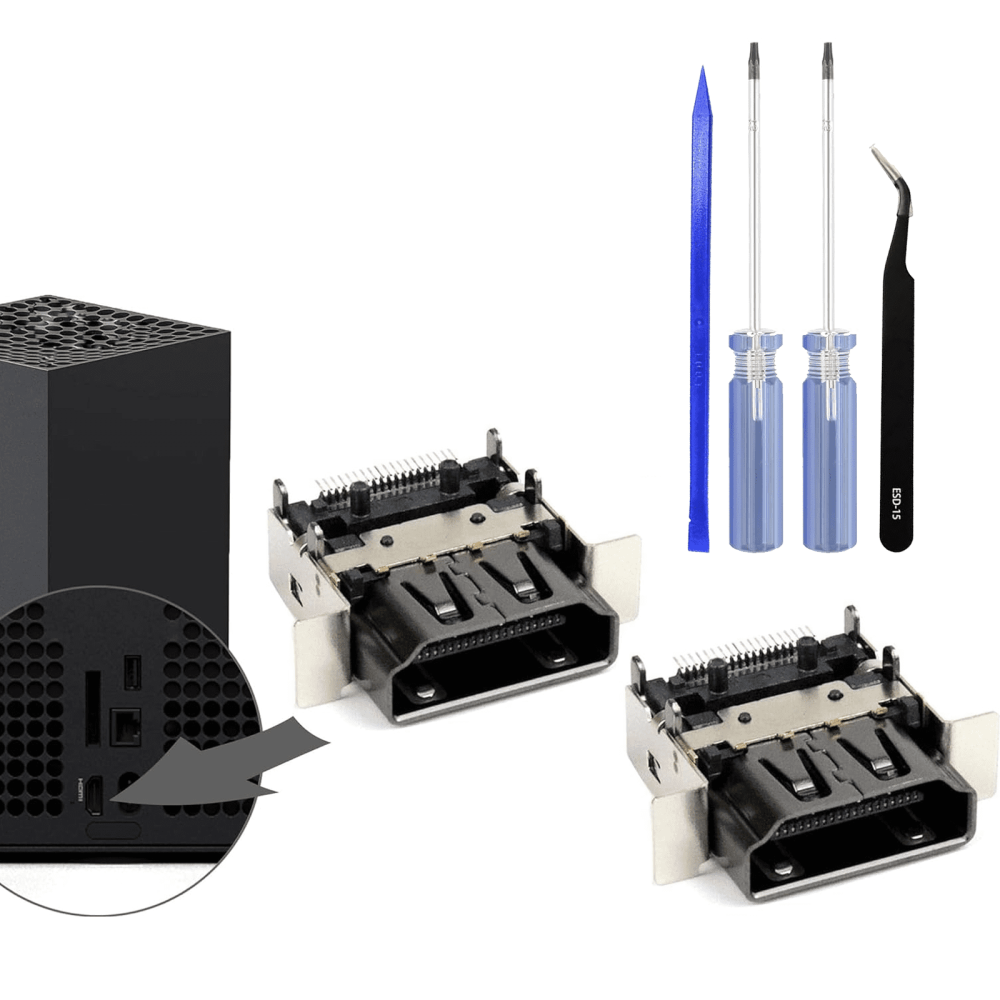
Tools and Parts Needed
Gathering Essential Equipment
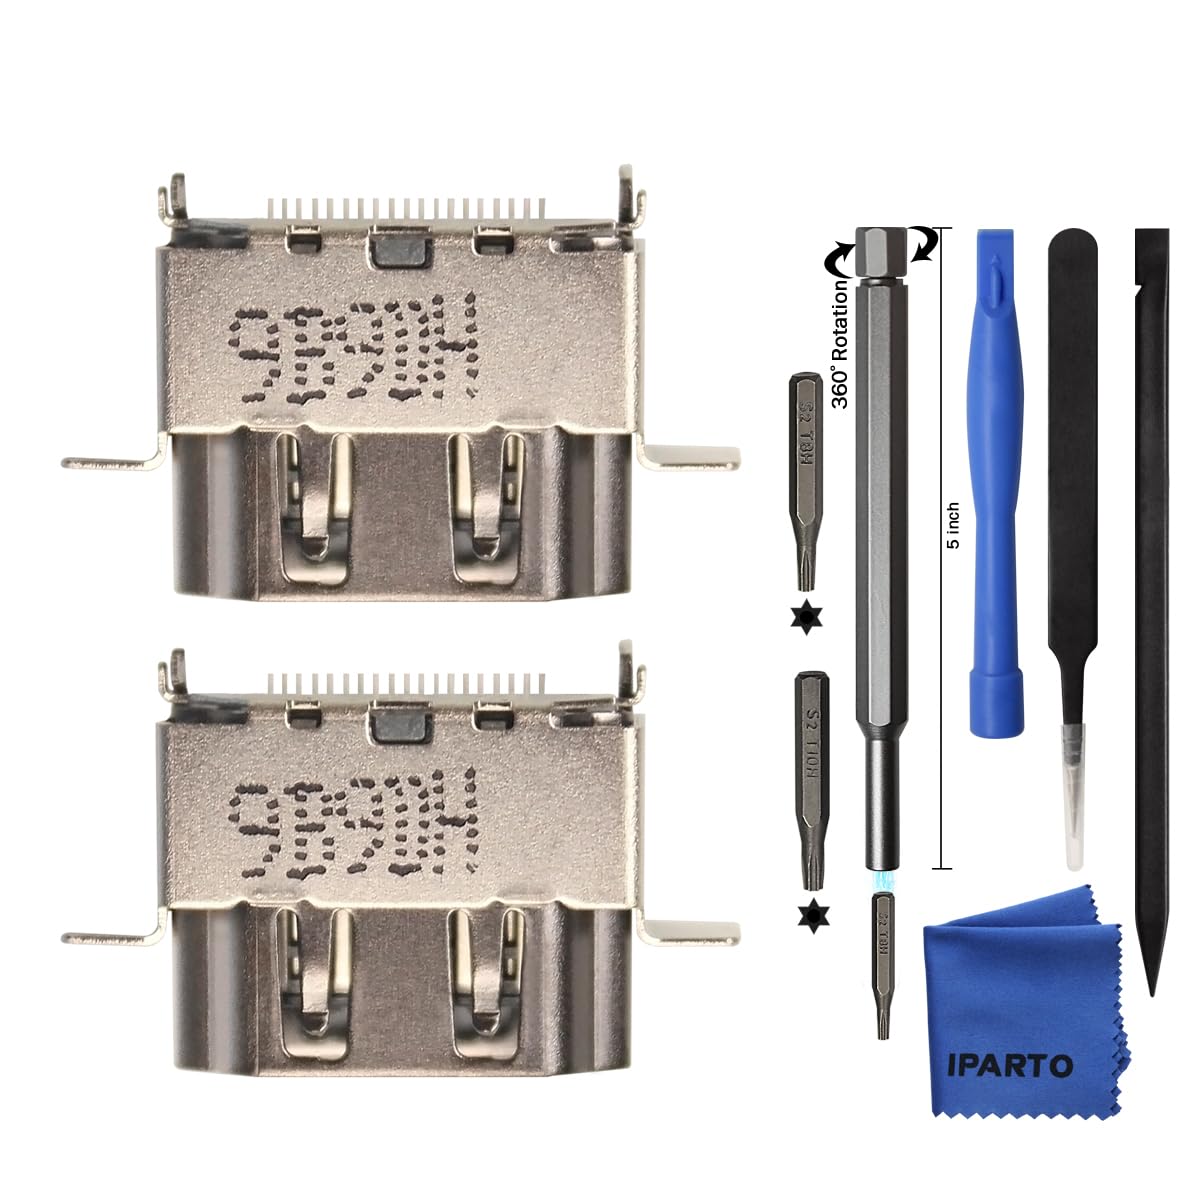
Starting an xbox one hdmi port replacement requires specific tools. Use the correct ones to avoid damaging parts.
First, get a set of pentalobe screwdrivers. The outer casing uses special P7 screws. Regular Phillips bits won’t fit.
Next, a standard Phillips #00 screwdriver handles internal screws. These are small and easy to strip. Apply gentle pressure.
A spudger or plastic opening tool helps separate the case. It prevents scratches on the plastic housing.
Precision tweezers assist with tiny ribbon cables. They offer better grip than fingers.
Soldering equipment is critical. You need a fine-tipped soldering iron, desoldering braid or pump, and rosin-core solder. Temperature control improves accuracy.
Safety gear matters too. Wear anti-static wrist straps. Static discharge can kill motherboard components.
Work on a clean, well-lit surface. Use a mat with compartments to organize screws. Losing one can delay reassembly.
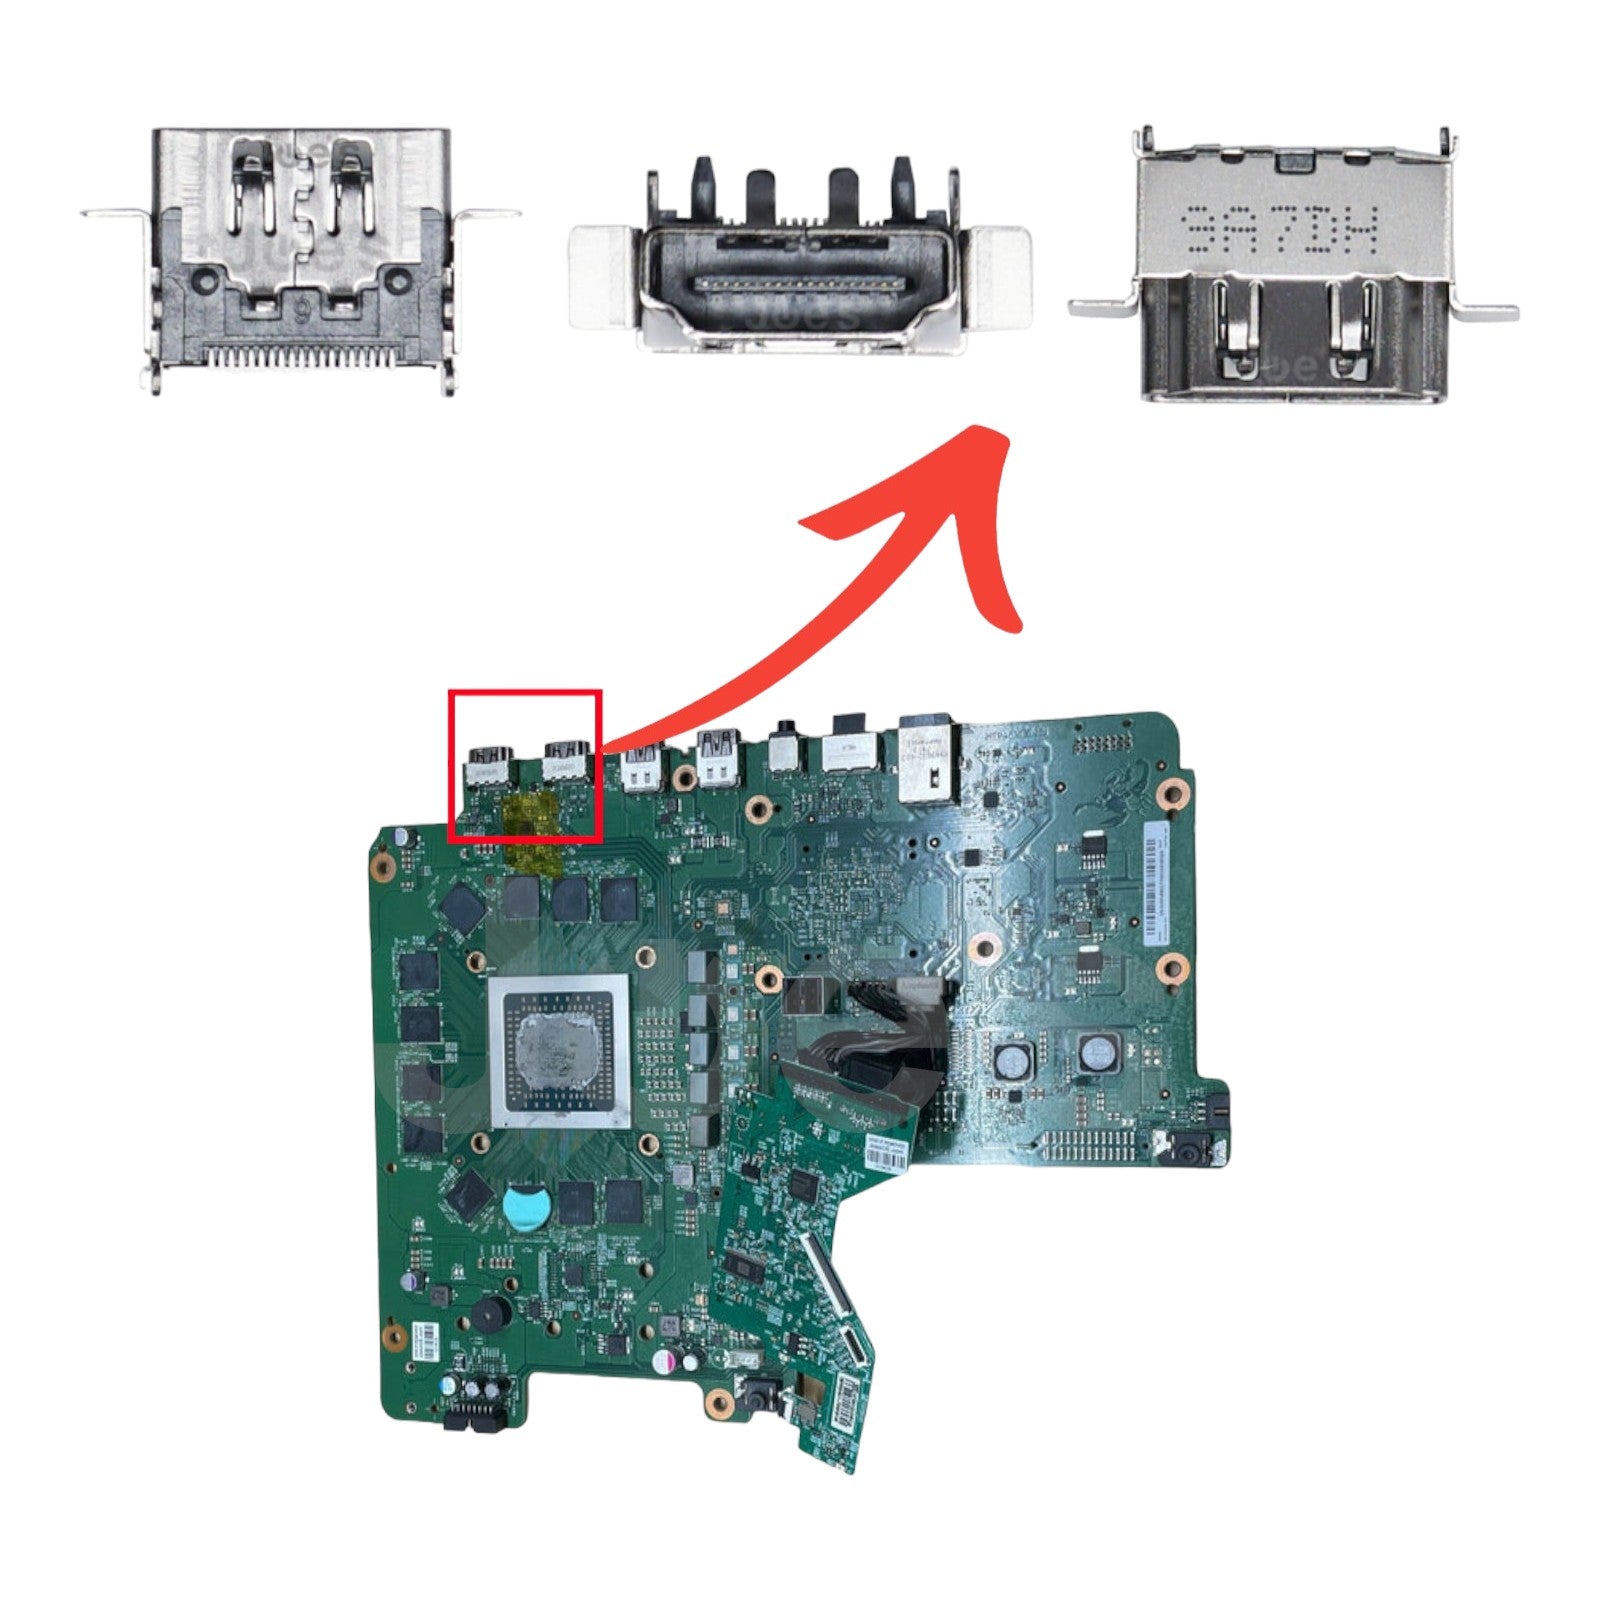
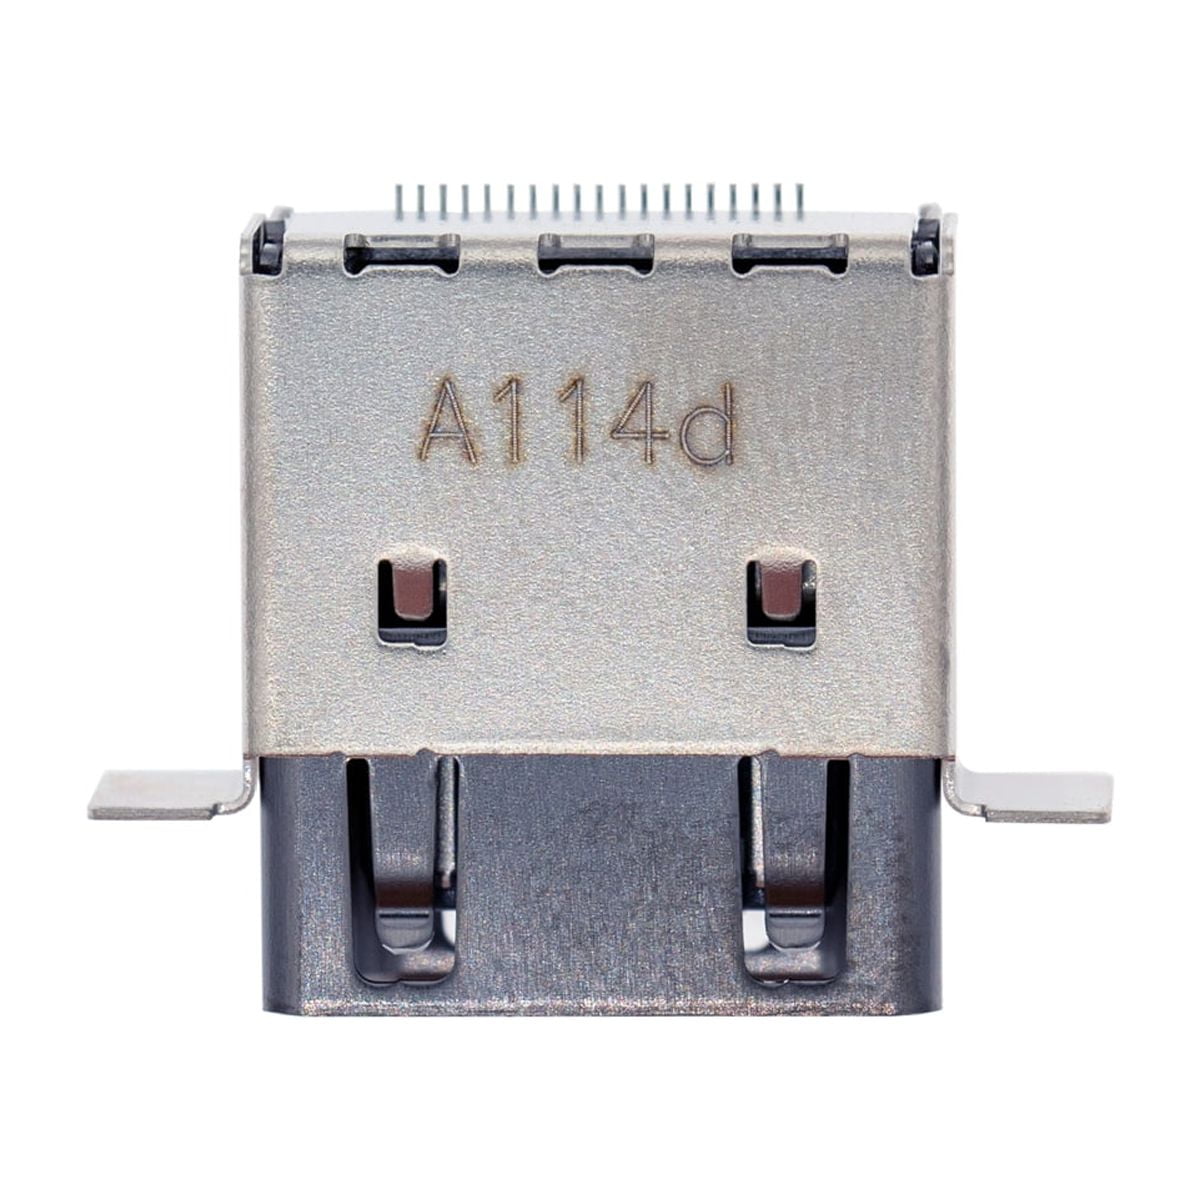
The replacement HDMI port must match your model. Check whether you have an Xbox One, One S, or One X. Ports vary slightly.
Buy from trusted suppliers. Cheap ports fail quickly. Look for OEM or high-quality replacements.
Keep isopropyl alcohol and cotton swabs handy. Clean the board before and after soldering.
With all tools ready, you reduce the risk of mistakes.
 Preparing for the Repair
Powering Down and Opening the Console
Safety comes first in any xbox one hdmi port replacement. Begin by unplugging the console. Remove all cables, including power and HDMI.
Wait at least ten minutes. This allows internal capacitors to discharge. It reduces shock risk.
Place the Xbox upside down on a soft cloth. This protects the casing during opening.
Use the pentalobe screwdriver to remove the outer screws. Some may be under stickers. Peel carefully. Save each screw in a labeled container.
Gently pry the top and bottom halves apart. Slide the spudger around the seams. Apply even pressure.
Once open, disconnect the power supply and disc drive. These block access to the motherboard.
Carefully lift the main shield covering the board. Remove any screws holding it in place.
Take photos during disassembly. These help during reassembly.
Label each cable and its location. Ribbon connectors are fragile. Handle with care.
Ground yourself before touching the motherboard. Clip the anti-static strap to a metal part.
Now, the HDMI port is visible. Inspect the surrounding area. Look for burn marks or lifted pads.
With the console fully open, you’re ready for the next step.
Removing the Old HDMI Port
Desoldering with Precision
The damaged HDMI port connects directly to the motherboard. It must be desoldered carefully.
Heat up the soldering iron to around 350°C. Use a clean tip. A dirty one transfers heat poorly.
Apply flux to the solder points. This loosens old solder and improves flow.
Use desoldering braid or a vacuum pump. Press the braid onto each joint while heating. The solder wicks into the copper.
Work slowly. Do not rush. Overheating can damage the board. Lift one side at a time.
Once all solder melts, gently wiggle the port loose. Do not force it. It should slide out smoothly.
Inspect the holes and pads. If any lifted, you may need to repair traces. This is advanced work.
Clean the area with isopropyl alcohol. Remove leftover flux or debris.
Check the new port before installation. Ensure pins align correctly.
Avoid touching the board with bare hands. Oils can corrode over time.
Use tweezers to position the new port. Hold it steady while soldering.
Proper removal sets the stage for a solid repair.
 Installing the New HDMI Port
Soldering the Replacement Correctly
Now that the old port is gone, install the new one. Precision ensures a lasting fix.
Place the new HDMI port into the holes. Align it flush with the board. It must sit flat.
Start by soldering one corner pin. This holds the port in place. Then check alignment again.
If it’s crooked, reheat and adjust. Once set, solder the remaining pins.
Use small amounts of solder. Too much causes bridges between joints.
After completing all connections, inspect with a magnifier. Look for cold joints or shorts.
Clean the board again. Remove excess flux with alcohol.
Reconnect all cables in reverse order. Follow your earlier photos.
Reattach the metal shield and disc drive. Secure with screws.
Snap the outer casing back together. Ensure all clips engage.
Insert the pentalobe screws. Do not overtighten. They can strip.
Now, reconnect the power and HDMI cable.
Plug everything in and power on.
If the screen appears, the xbox one hdmi port replacement succeeded.
Testing and Troubleshooting
Verifying a Successful Repair
After reassembly, test the console thoroughly. First, power it on without a disc. Wait for the startup sound.
Check the TV. If it detects the Xbox, the port likely works. Navigate the menu using a controller.
Play a game or stream video. Watch for signal drops or flickering. These suggest poor soldering.
If no signal appears, recheck connections. Open the console again if needed.
Inspect the HDMI port for loose joints. Resolder any weak spots.
Try a different HDMI cable. Confirm it works on another device.
Test on a second TV. This confirms the issue isn’t with your display.
If the console powers on but overheats, check fan connections. A loose cable could cause shutdowns.
Audio should pass through the HDMI. If missing, check settings. It may be routed to another output.
Some users see a green screen. This points to GPU issues, not the port. That’s a separate problem.
If all else fails, consider professional help. Complex board damage may need expert repair.
A successful test means your xbox one hdmi port replacement was effective.
 Preventing Future Damage
Protecting Your Repaired Console
Once fixed, take steps to avoid repeating the problem. A new port can fail if misused.
Use a strain relief on the HDMI cable. This reduces pressure on the port. Flexible sleeves or clips help.
Avoid yanking the cable out. Pull by the connector, not the cord.
Use a wall-mounted HDMI switch or splitter. This keeps the console in place. You switch inputs remotely.
Place the Xbox on a stable surface. Do not stack items on it. Vibration weakens connections over time.
Clean the port occasionally. Use compressed air to remove dust.
Never force a cable in at an angle. Align it straight before inserting.
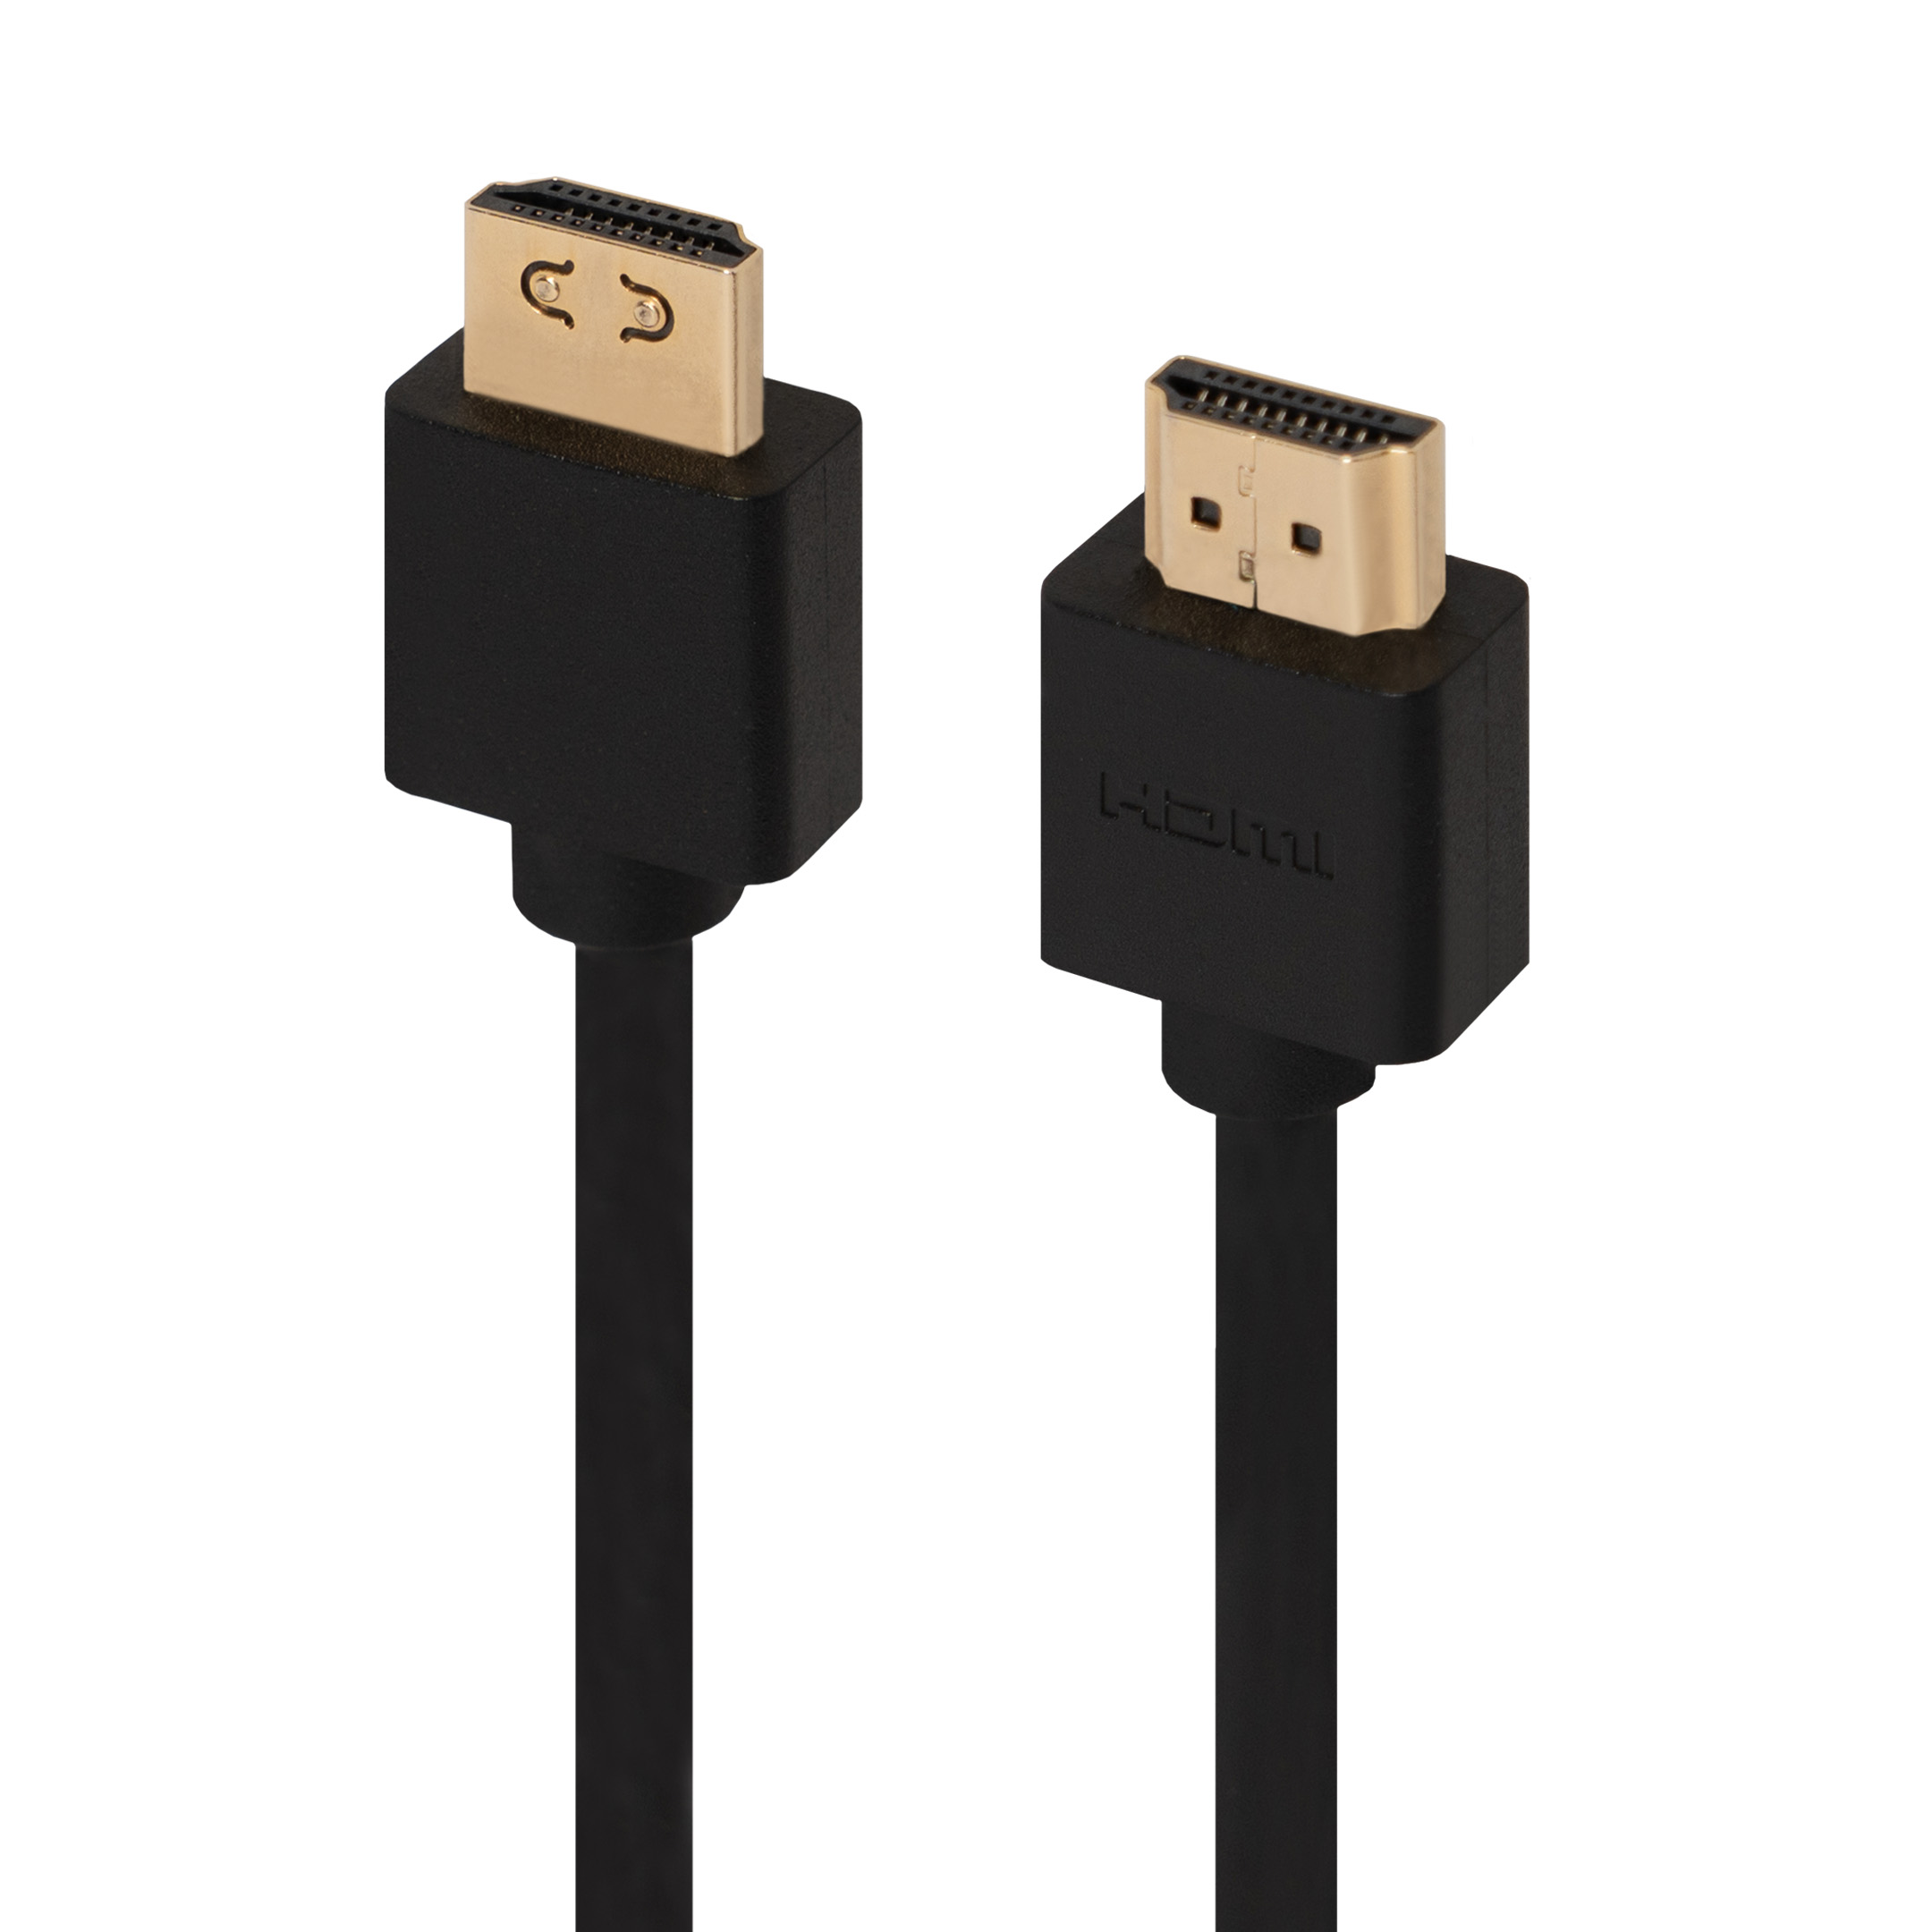
Consider using an HDMI extension cable. This moves stress away from the console.
Keep the area well-ventilated. Heat weakens solder joints. Overheating shortens lifespan.
If you move often, secure the console during transport. Use padding in a case.
Good habits extend the life of your repair.
Frequently Asked Questions
Common Concerns Answered Clearly
Can I damage the motherboard during repair? Yes, if you overheat or apply too much force. Work slowly and carefully.
Is soldering experience required? Yes. This is not a beginner-friendly repair. Practice on old boards first.
How long does the repair take? Two to four hours for most users. Experience reduces time.
Will I lose my game data? No. The hard drive stays intact. Your saves remain safe.
Can I use a USB to HDMI adapter? No. Xbox One doesn’t support video output through USB.
Is the port the same for all models? No. Xbox One, One S, and One X have different ports. Match your model.
Can I send it to Microsoft? Yes. They offer repair services. However, costs may exceed a used console’s value.
These answers help users decide their next steps.
 Final Thoughts: Is Xbox One HDMI Port Replacement Worth It?
Repairing a damaged HDMI port can feel intimidating. Yet, for many, an xbox one hdmi port replacement is a cost-effective solution. It avoids the expense of buying a new console. With the right tools and patience, it’s a manageable project.
Success depends on attention to detail. Clean work, proper soldering, and careful reassembly lead to reliable results.
Even if you’re not confident doing it yourself, knowing the process helps you choose a trustworthy repair shop.
Ultimately, fixing the port restores full functionality. Games, movies, and apps work as before.
In the end, an xbox one hdmi port replacement is more than a fix—it’s a way to extend your console’s life. For dedicated gamers, that’s a win.