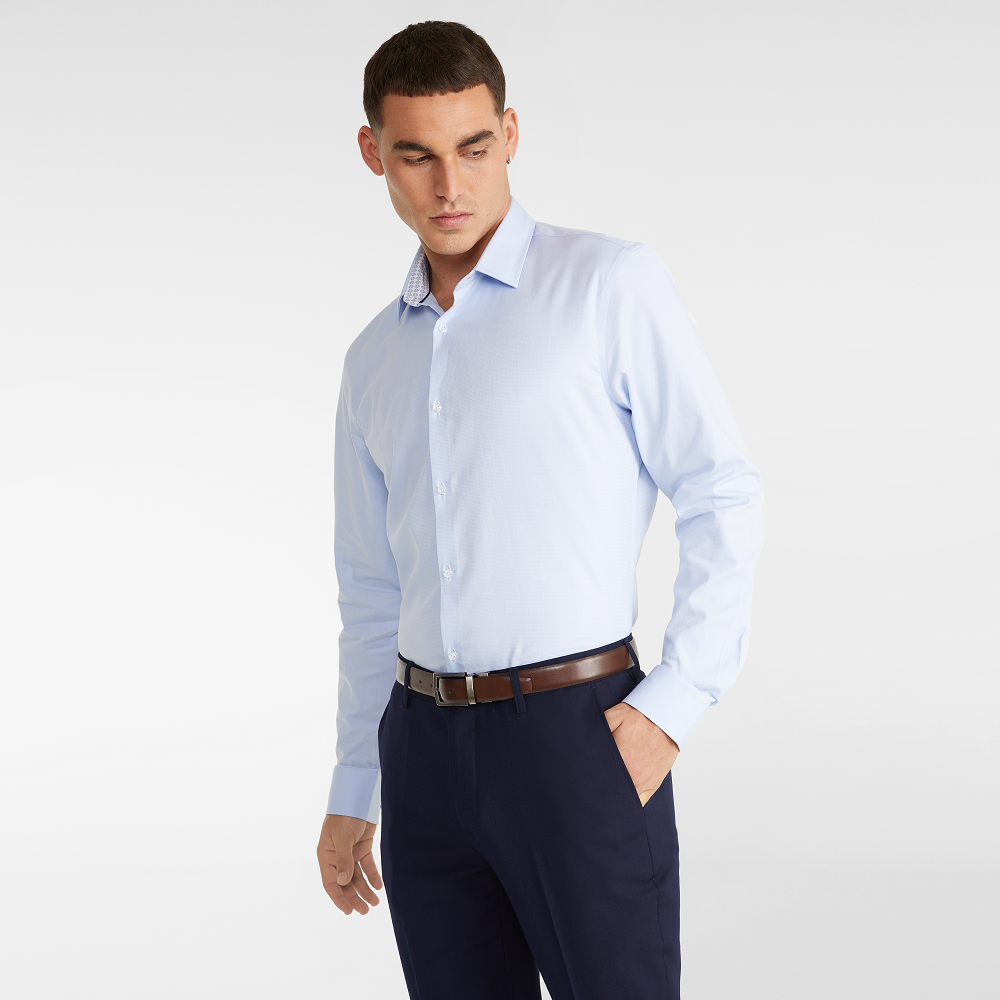
Ironing a dress shirt may seem daunting, but with the right tools and techniques, it can be a simple and efficient task. A well-pressed shirt not only looks polished and professional but also enhances your overall appearance. Whether preparing for a business meeting or a special occasion, knowing how to iron your dress shirt effectively is essential. How to iron a dress shirt? In this article, we will discuss the necessary tools for effortless ironing, as well as step-by-step instructions to help you achieve a crisp, clean finish.
In This Article
Gathering Your Equipment
Essential Tools for Ironing
How to iron a dress shirt? Before you start ironing, it’s important to gather all the necessary tools. The first essential item is a good-quality iron. Look for an iron with adjustable steam settings, as steaming can help remove stubborn wrinkles. A sturdy ironing board is also crucial. It should be at a comfortable height, allowing you to stand straight while working. Choose a board with a covering that reflects heat well to facilitate smoother ironing.
In addition to these primary tools, you may want to have a spray bottle filled with water. Lightly misting your shirt can help relax fabric fibers, making it easier to remove wrinkles. A clean, lint-free cloth is also helpful for preventing shine on dark fabrics and smoothing out delicate sections. Finally, a good-quality starch may be beneficial if you prefer a crisp finish.
Organizing Your Space
Creating a tidy, well-organized ironing space can make your task easier and more efficient. Set up your ironing board in a well-lit area, preferably near an outlet for your iron. Clear any clutter around the space to avoid interruptions while you work. Organizing your tools within reach will enable you to move through the ironing process smoothly.
Once your space is ready and your tools are laid out, you’ll be set for a seamless ironing experience. Ensuring a comfortable and efficient workspace contributes to achieving the perfect finish on your dress shirt.
Understanding the Fabric
Identifying Your Shirt’s Material
Different fabrics require different ironing techniques and settings. Knowing the fabric of your dress shirt is crucial for effective ironing. Common materials for dress shirts include cotton, linen, polyester, and blends. Cotton shirts are generally durable and can withstand higher heat levels. However, they can also wrinkle easily. Linen requires similar care, but it is more sensitive to both heat and moisture.
On the other hand, polyester and synthetic blends are often more resistant to wrinkles and can be ironed at lower temperatures. Always check the care label of your shirt to determine the best ironing temperature. Understanding the fabric will help you select the appropriate heat and steam settings for your iron.
Preparing the Fabric for Ironing
Before you begin the ironing process, it’s helpful to prepare your shirt. Ensure that it’s clean and slightly damp. If the shirt is too dry, consider spritzing it with water from your spray bottle. Wet fabric is easier to smooth out, as the steam will help relax wrinkles. If your shirt is completely dry and heavily wrinkled, you might need to iron it once quickly with steam and then let it cool and dry before a second pass.
Moreover, ensure that the shirt is free from stains or dirt. Ironing over stains may set them in permanently. If you notice any stains, treat them before ironing. Preparing the fabric properly will make your ironing efforts more effective.

Setting Up the Iron
Getting Your Iron Ready
Once your tools and fabric are ready, it’s time to set up the iron. Fill the iron’s water reservoir if it has a steam feature. Ensure that the water is clean and suitable for the iron. Many models recommend using distilled water for optimal performance. Before plugging it in, check the cord for any damages or wear.
Adjust the heat setting according to the fabric of your dress shirt. For cotton and linen, you’ll typically want a higher heat setting, while lower temperatures are best for polyester or blended fabrics. Allow the iron to heat up fully before starting. Most modern irons have a light indicator to signal that they’re ready for use.
Testing the Heat on a Scrap Fabric
Before you start ironing your dress shirt, it’s wise to test the heat on a scrap piece of fabric or an inconspicuous area of the shirt. This ensures that the heat does not damage the fabric or cause any burns. If the fabric holds up without any issues, you can proceed confidently.
Taking a moment to check the heat level can help avoid potential disasters and guarantee that your shirt maintains its quality through the ironing process.
Ironing Techniques for Flawless Results
Starting with the Collar
Begin the ironing process with the collar, as it’s one of the most visible areas of a dress shirt. Lay the collar flat on the ironing board. Start from the outside edges and work your way inwards towards the center. This technique helps prevent creasing on the outer parts as you maneuver the collar. Use the steam function to help eliminate any stubborn wrinkles, and be sure to pay attention to both the front and back of the collar for even results.
Moving to the Sleeves and Cuffs
After finishing the collar, focus on the sleeves. Unbutton the cuffs and lay one sleeve flat on the board. Start ironing from the shoulder down to the cuff, ensuring to keep it smooth. As with the collar, use the steam feature if necessary to remove any wrinkles or creases. Iron both sides of the sleeves for a neat finish.
Once the sleeves are done, shift your focus to the cuffs themselves. These small areas can sometimes hide creases, so take your time ironing them. Open the cuffs and lay them flat before applying the iron. If necessary, turn the cuffs inside out for a more detailed touch.
Ironing the Body of the Shirt
Focusing on the Front Panels
With the collar and sleeves completed, move to the body of the shirt. Start with one of the front panels. Position the shirt so that it lays flat on the ironing board. Begin at the shoulder and work your way down to the hem, using the iron against any buttons or embellishments on the fabric. Be careful not to press down too hard on buttons, as this may cause scratches or indentations.
Apply steam as needed, ensuring you smooth out any wrinkles as you go. Keep the fabric taut against the ironing board while you’re ironing to achieve a crisp finish. If your shirt has any pleats or darts, pay special attention to these areas, ensuring they are well-ironed for a polished look.
Finishing with the Back
Once you’ve ironed both front panels, turn the shirt around to address the back. Repeat the same technique, starting from the shoulders down to the hem. Take special care around the yoke to maintain the shirt’s shape. Ironing this section can sometimes be tricky due to the curves, so work gently to avoid creating creases.
Again, use the steam function whenever necessary to ensure that the back of the shirt lays flat. When completing this section, your dress shirt should now look crisp and smooth, ready for wear.

Post-Ironing Care
Checking for Final Touches
How to iron a dress shirt? After you’ve completed ironing, take a moment to inspect the shirt. Look for any remaining wrinkles that may need extra attention. If you spot any, you can quickly run the iron over those areas again. Now is also an excellent time to re-adjust the collar and cuffs to ensure they’re perfectly aligned.
If you’ve used starch, hang the shirt on a hanger immediately to preserve the stiffness. If it’s a warm day, consider placing it in a garment bag to maintain its crispness. The goal is to keep the shirt looking fresh until it’s time to wear it.
Storing Your Ironed Shirt
Properly storing your ironed dress shirt is essential for maintaining that freshly pressed appearance. Avoid folding a newly pressed shirt, as creases can form quickly. Instead, hang the shirt on a padded or wooden hanger to maintain its shape and prevent wrinkles from forming.
If you plan on wearing the shirt the next day, hang it in a closet away from direct sunlight to avoid fading and to keep it fresh. If you won’t be wearing it soon, consider using a breathable garment bag for added protection. Proper storage ensures that your hard work pays off.
Maintenance of Your Iron and Tools
Regular Cleaning and Care
To maintain the quality and efficiency of your iron, regular cleaning is necessary. Over time, mineral deposits from the water can build up in the iron’s steam vents. To clean it, consult your iron’s manual for instructions. Many irons can be cleaned by using a vinegar solution or a specialized cleaning product.
Make it a habit to wipe the soleplate with a soft cloth after every use. This helps prevent residue buildup and keeps it looking clean. Ensuring your tools are in good working condition will prolong their lifespan and improve ironing results.
Organizing and Storing Your Tools
Finally, take the time to organize and store your ironing tools properly. How to iron a dress shirt? Keep your iron, ironing board, and other accessories in a designated space. If you use a spray bottle, store it near your ironing area for convenience.
Organizing your tools makes the ironing process more efficient and pleasant. Having everything you need at your fingertips creates a smoother experience, and you’ll be ready to tackle any ironing task that comes your way.
How to iron a dress shirt? In conclusion, mastering the art of ironing a dress shirt can significantly enhance your wardrobe‘s appearance. With the right tools and techniques, you can achieve professional results at home. Gathering the necessary equipment, understanding the fabric, and using proper ironing techniques will ensure that your dress shirts look crisp and polished.
Whether you’re preparing for a business meeting or a special event, investing the time to care for your shirts pays off greatly. By following the steps outlined in this article and maintaining your tools, you can confidently approach your ironing tasks. Take pride in your appearance and enjoy the rewards of a well-pressed dress shirt!